
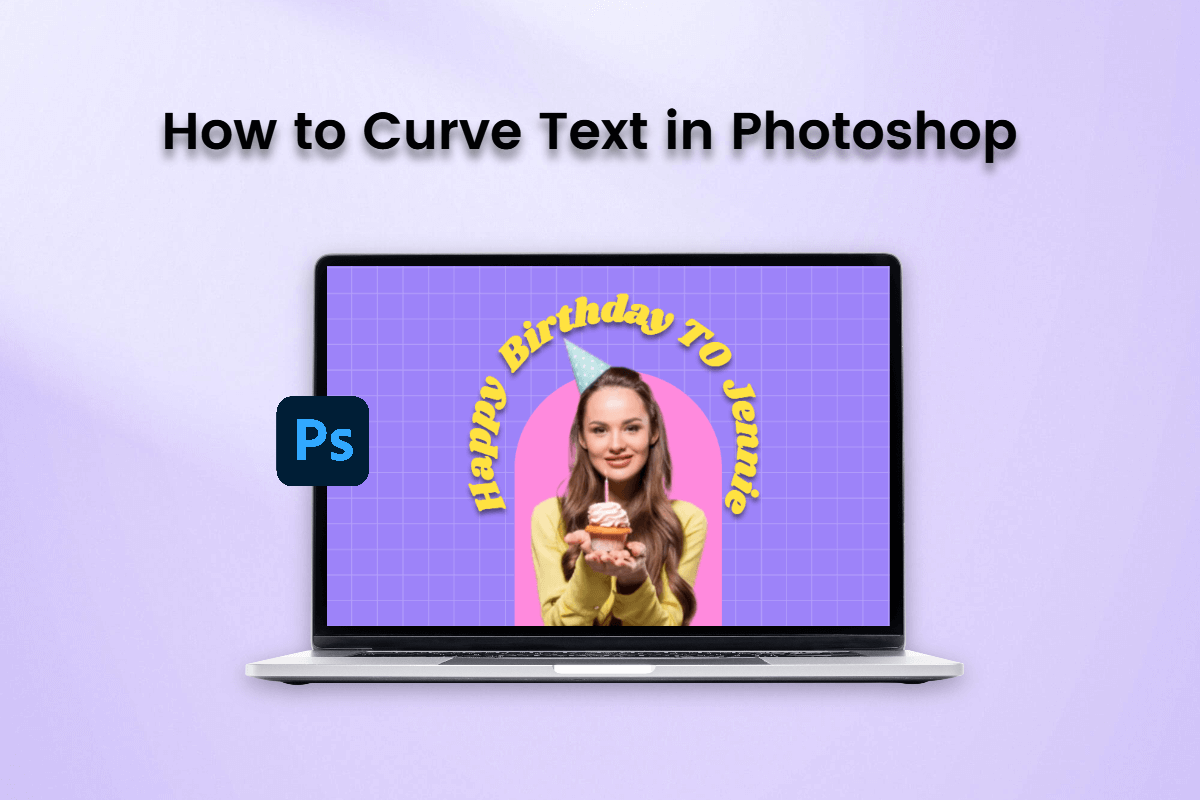
How to Curve Text in Photoshop: 3 Easiest Methods
Summary: This blog provides 3 easiest methods on how to curve text in Photoshop. Each method has a step-by-step guide.
When designers create logos, badges, and labels, they often have the text curved. Curved text is visually interesting, thus it can have a nicer effect and grab more attention.
Photoshop is a powerful text-editing program with many features and options. There are many ways to curve text in Photoshop, some can be done with simple steps, while others need intricate work but create better results.
Today we summarized three easiest methods on how to curve text in Photoshop. With these methods, curving text in Photoshop is no longer a complicated task.
3 Methods to Curve Text in Photoshop
Method 1: Use the Text Warp Tool
This is one of the easiest ways to curve text in Photoshop. It can be found in the options bar when you have the text tool selected and it’s quick and easy. But it’s for amateurs since the result is not as good as the other two tools.
How to curve text in Photoshop with the Text Warp Tool?
- Open Photoshop. Select “File”> “New” to create a new document.
- Right-click on the “T” icon on the toolbar. Select “Horizontal Type Tool”.
- Click on the white area on the screen, and type your desired text. You can choose a font style and set font size on the top menu bar.
- Once done, click on the “√” icon to commit your changes.
- Now click on the “Warp Text Tool”. It's the button at the top of the window that looks like a “T” with a curved line beneath it.
- Then choose a style. On the pop-up window, you can click on the “Style” box, and slide down to choose a style for the text. As you select styles, the text will change to preview the look. Below the style, you can choose either a horizontal or a vertical bend. You can adjust the degree of the text's arc by moving the slider of “Bend”. Plus, increase or decrease the distortion of the text with the "Horizontal" and "Vertical" Distortion sliders.
- Click “OK” when you finished curving the text. Here you can see the result.

Method 2: Use the Pen Tool
A Pen Tool is a standard tool used in Photoshop that helps create paths and shapes of various sizes, and it can be used to curve text. This method is more controllable and flexible for precisely shaping a curved text.
Now let’s see how to curve text in Photoshop with the Pen Tool:
- First, you need to create a new document. Click “File”, and then “New”.
- Then click on the “Pen Tool”. It’s on the toolbar and its shape is like a fountain pen nib.
- On the top menu bar, make sure the mode of “Pen Tool” is set to Path.
- Click anywhere on the current layer to create a starting point of the curve.
- Click on another place on the layer to set the ending point of the curve. And then you can see a straight line appears between the two points.
- Now you can click on the middle of the line to create an anchor point of the curve.
- Then drag the anchor point to turn this line into a curve. You can drag it until the line is at the same arc at which you want the text to curve.
- Select “Type tool”. Put your cursor over the starting point of the curve. When the cursor changes, just click to turn the curve into a text area.
- Type your text and adjust its font style and size on the top menu bar.
- Once done, click on the “√” icon to save your changes. And now you can see the result of curved text here.
Method 3: Use the Path Tool
The last way to curve text in Photoshop is using the Path Tool. The Path Selection tool lets you quickly select paths, giving you the versatility to move or edit objects. It can customize paths and shapes for your text.
Here’s how to curve text in Photoshop with the Path Tool:
- Open Photoshop and create a new document.
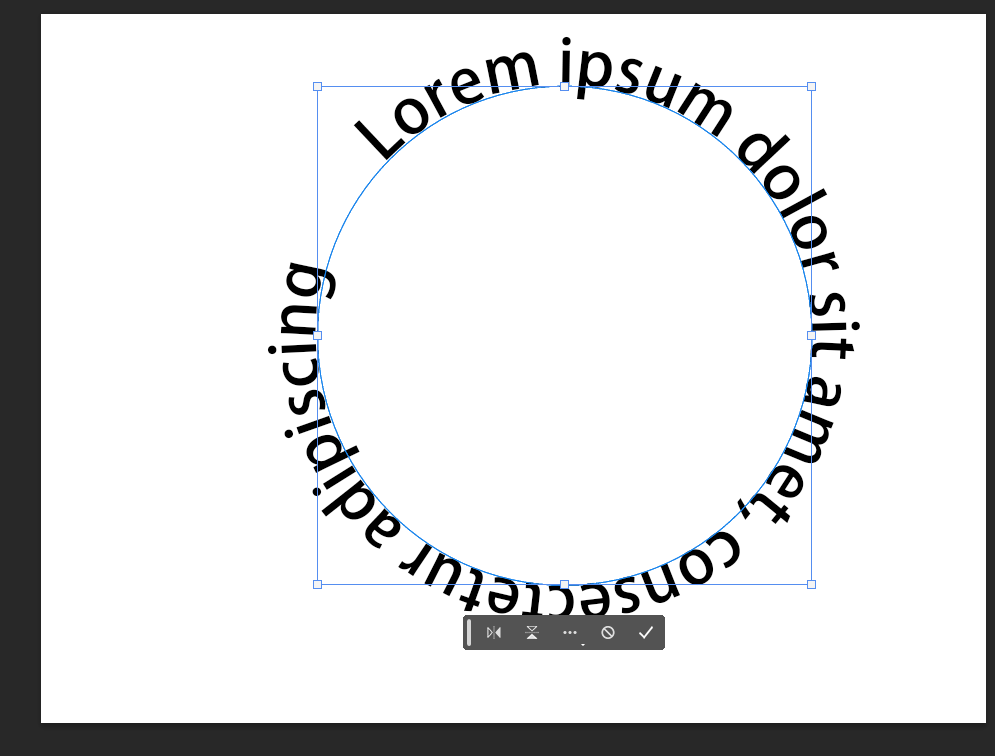
- Select the “Ellipse Tool” from the toolbar. First, select “Rectangle Tool”. It’s beneath the “T” icon and its shape is like a rectangle. Then right-click on it to choose the “Ellipse Tool”.
- In the options bar below the top menu, set the mode the “Path” and draw a path on your document. You can drag the anchors around the circle until its shape is perfect.
- Grab the “Type Tool” and click anywhere along the path. Then you can enter your text here.
- You can change the starting and ending point of your curved text. Select the “Path Selection Tool” and drag the point to reposition your text.
- If the path is too large and your text is not centered, you can select “Edit” on the top menu bar, and then choose “Free Transform Path” to readjust your path.
- Once done, click on the “√” icon to commit. And you can see the result of curved text here.
Online Tool to Help You Generate Curved Text: Fotor
Use Fotor curved text generator to easily create curved text to highlight your photos and designs.
We’ve listed 3 easiest ways to curve text in Photoshop. You can bend your text by taking the steps above. However, apart from Photoshop, other easy-to-use online tools can have the same effect on transforming text into a curved shape.
Fotor is a good choice for you. Fotor’s curved text generator allows you to create beautifully arched text in just a few clicks. Customizing your personalized text with a curved shape has never been easier with Fotor.
Here’s how to curve text with Fotor’s curved text generator:
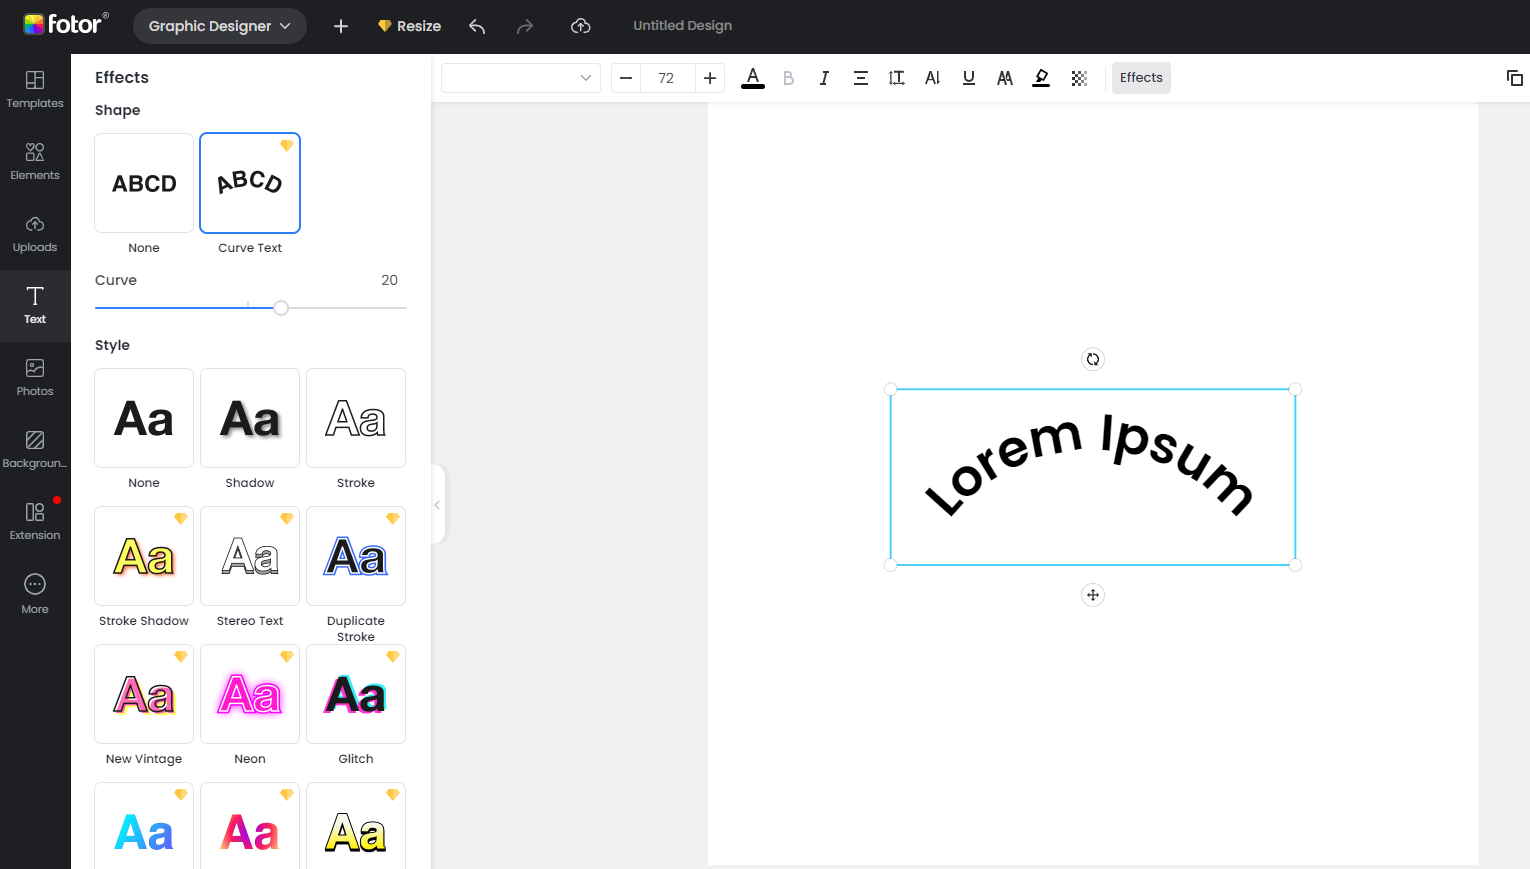
- Open Fotor, and choose “create a design”.
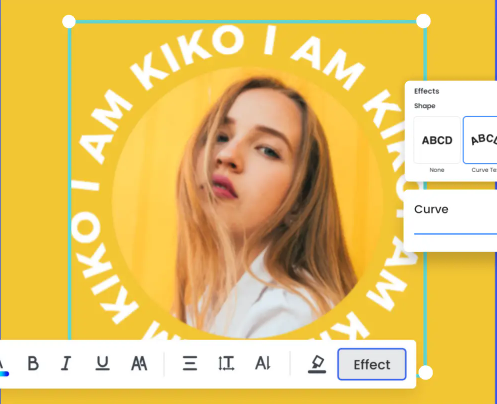
- Select the “Text” tool from the toolbar on the left side. Click “Add Heading” to enter the text you want to curve. In the options bar on the top, you can choose a font style and adjust the font size.
- Have the text selected, click on the “Effects” in the top options bar. Find “Curve Text” in “Shape” and apply it. You can adjust the degree of the curve by moving the slider. Plus, you can choose a style for your curved text.
- Once done, click on the space and download the curved text either in a high-quality JPG or a PNG format.
Tips for Best Curved Text Results
Tools like Photoshop and Fotor can help you generate the curved shape. But whether the final result has certain artistic aesthetics and whether it meets your design standards is related to how you set related factors while curving the text. Here are 4 tips conducive to getting the best results.
1. Font Style
Not all font styles can work well when curved. The best font styles should be readable and visually appealing when the text is curved.
2. Text Size
Your text should be closely matched with the curve. That requires changing the text size to ensure it fits the curve properly. Small text size needs softer curves, while large text size can have manifest curves.
3. Layout and Composition
Be focused on the layout of curved text in your design. The best-curved text should complement other elements in the whole design. Adjust the place of your curved text to keep the uniform composition.
4. Color Selection
To stand out the curved text in the overall design. Choose the color contrasting to those of the background and other elements.
Conclusion
Curving text is a creative way to make your design visually captivating. Above are the contents on how to curve text in Photoshop. By reading them, you can transform a text into a desired curved shape with simple steps. The key to getting the best-curved text lies in practice. Why not try tools like Photoshop and Fotor to curve text now? You can definitely create stunning designs by following the guides in this article.
 Ashley Martinez