How to Resize A Photo on Mac:A Complete Guide
Summary: In this post, we’ll clarify a step-by-step guide on how to resize a photo on Mac with Preview, Mac Photos App, and an online photo editing tool to help you quickly and easily change the size of pictures.
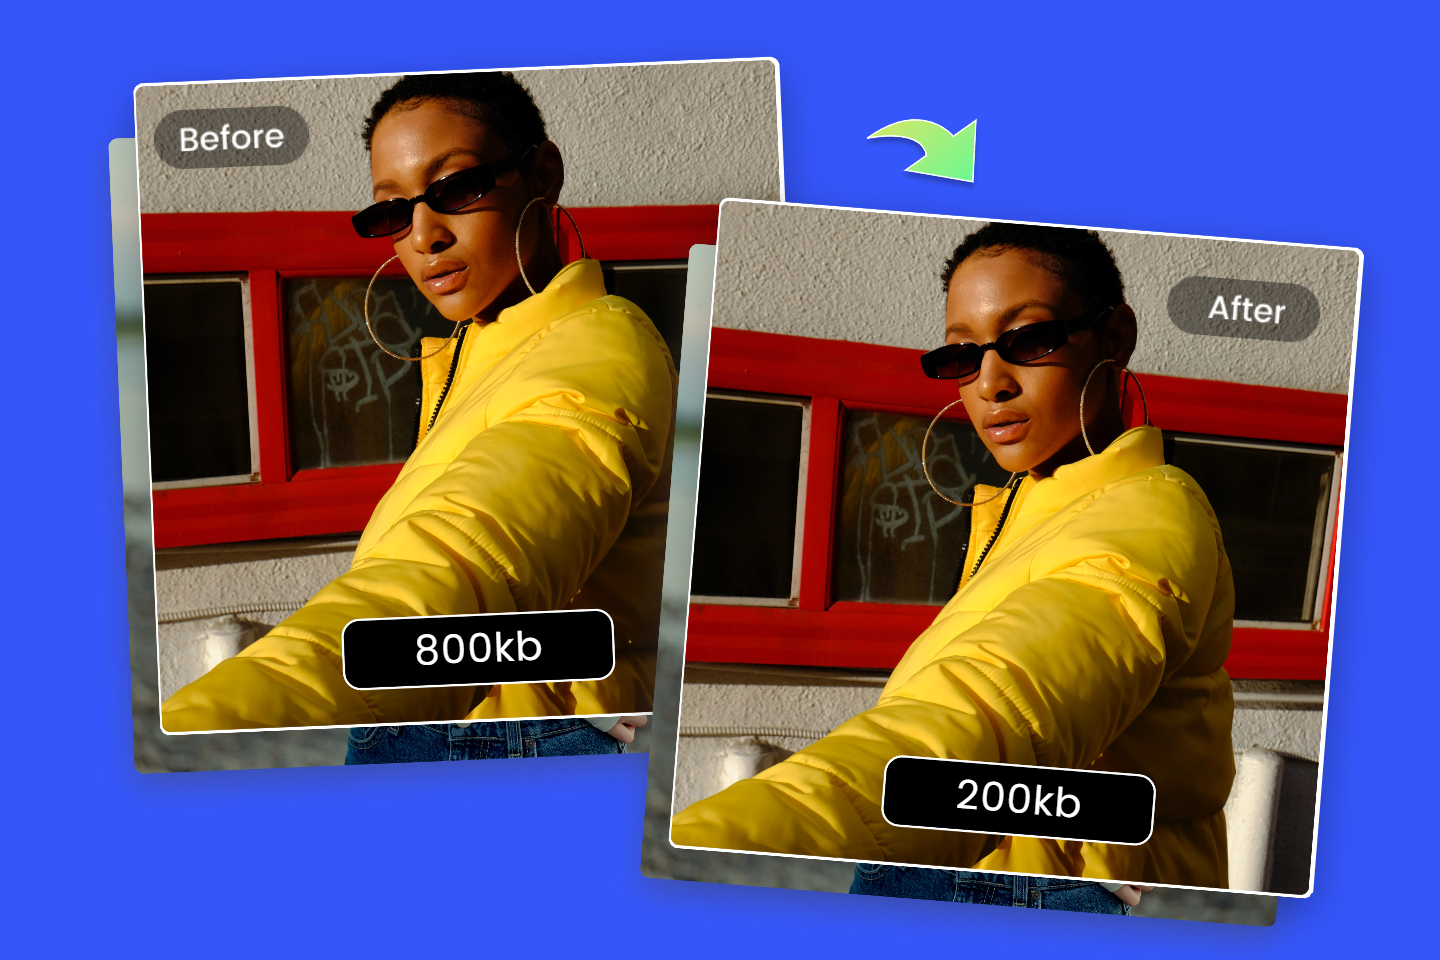
Resizing a photo refers to making an image smaller or bigger without cutting anything out.
Knowing how to resize pictures on Mac is important if you need to reduce your image file size to ease the storage space of your computer, or post your pictures online more quickly. Since some social media platforms have limitations on the file size of pictures.
Now let’s go through a detailed guide on how to resize a photo on Mac.
How to Resize A Picture on Mac Using Preview?
You can resize the pictures fast on Mac by using its built-in software: Preview.
Here are the steps:
First, click the image you want to resize and select “open with”, and then select “Preview”.
Second, once the image is opened, select the “Tools” option from the top menu and slide down to find the “adjust size” option.
Third, set a custom size for your picture. You can set it either by percentages or by pixels. Select a way and input the target width and height if you know the accurate size of your target pictures. If not, you can adjust the values until you get the size you want.
Fourth, check the new size of the image in the Resulting Size Box, if it meets your demands, click “ok” and save your new image.
How to Resize A Photo on Mac’s Photos App
You can also reduce image size on Mac with another built-in app: Photos.
The steps are as follows:
- Open “Photos” and select the images you want to resize.
- Click “file” on the top menu and slide down to click “Export”- ”Export 1 photo”
- Choose a present target size(small, medium, or large), or choose the “custom” option to freely set your desired size for your images. Enter the width and height, and adjust the values until they meet your demands.
- Click on “export” in the bottom-right corner and save your images.
How to Change the Size of Images on Mac with Mac Photo Editor: Fotor

Fotor allows you to simply and quickly resize your pictures on Mac.
Use Fotor's Image Resizer and Batch Photo Editor to change the size of images.
Apart from the built-in software on Mac, you can also resort to Fotor, a free and simple photo editing software for Mac. Since here you can have multiple alternatives. And We strongly recommend you Fotor's Photo Editing Tools for Mac, to help you get the desired size without losing quality.
What Are the Advantages of Fotor’s Photo Editing Tools?
• You can quickly and simply get the desired dimensions without cropping manually. Just enter the target height and width, and Fotor will automatically resize the pictures.
• You can make the images smaller or larger without losing quality. And Fotor supports common image formats, like JPEG, JPG, PNG, and more.
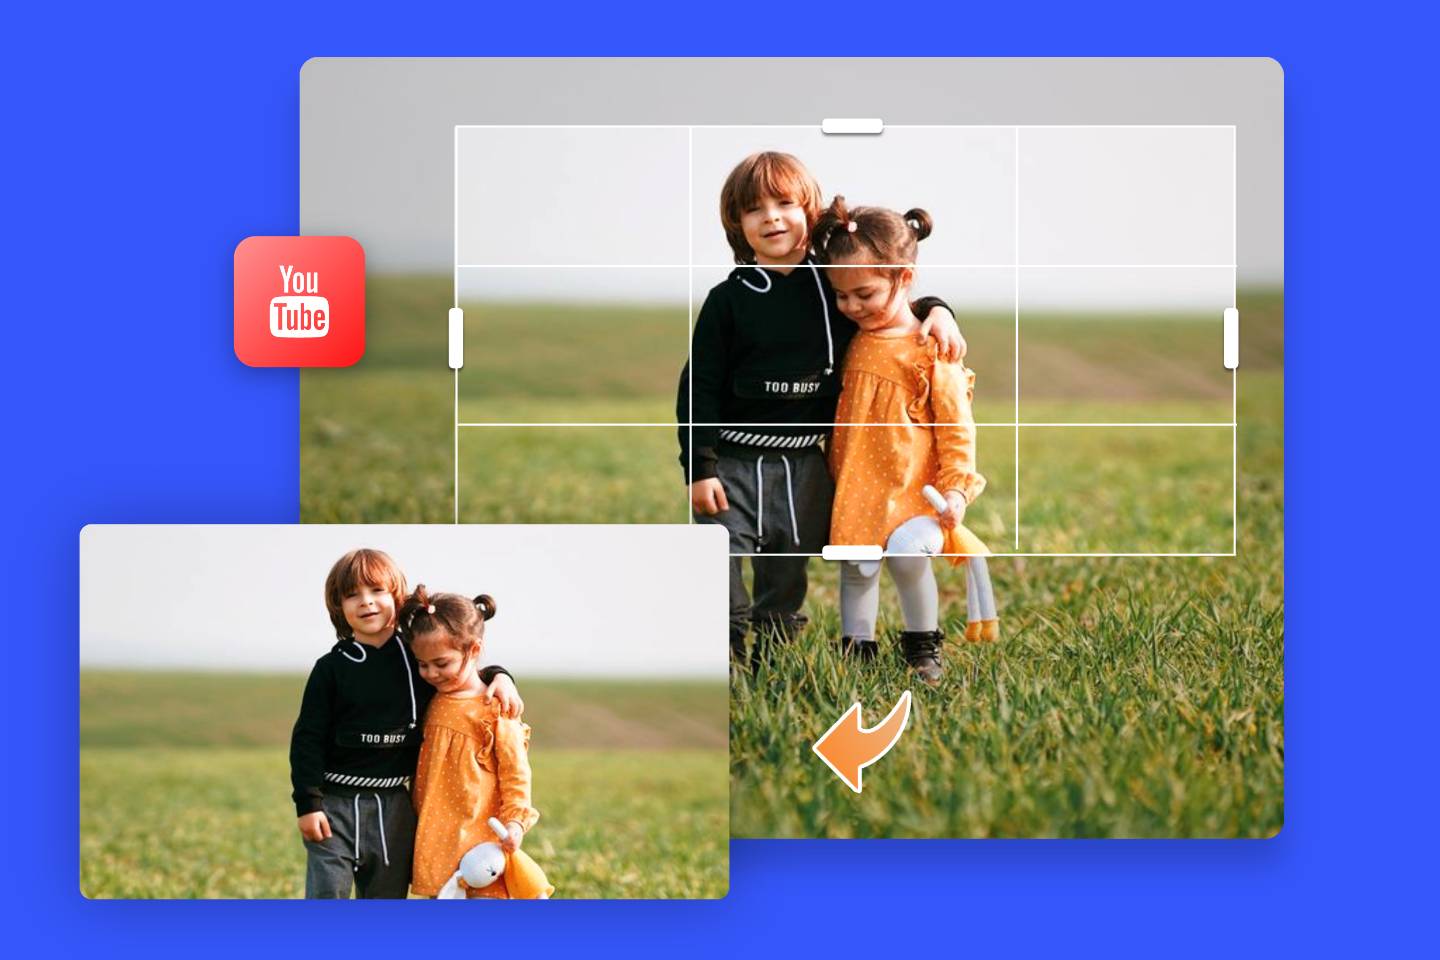
• You can immediately get the size for social media use by using Fotor’s present image creating tools, like Instagram Post Maker, Facebook Cover Maker, Youtube Thumbnail Maker, and so on.
How to do it?
1. Open Fotor, click the “Photo Editor” button on the top menu.
2. Open an image or drag it to the specified area.
3. Click the second option on the right side and choose “crop”. Input the target width and height in the box, and adjust the values until you get the desired size. Similarly, you can click the “switch” button to randomly adjust the size of your pictures.
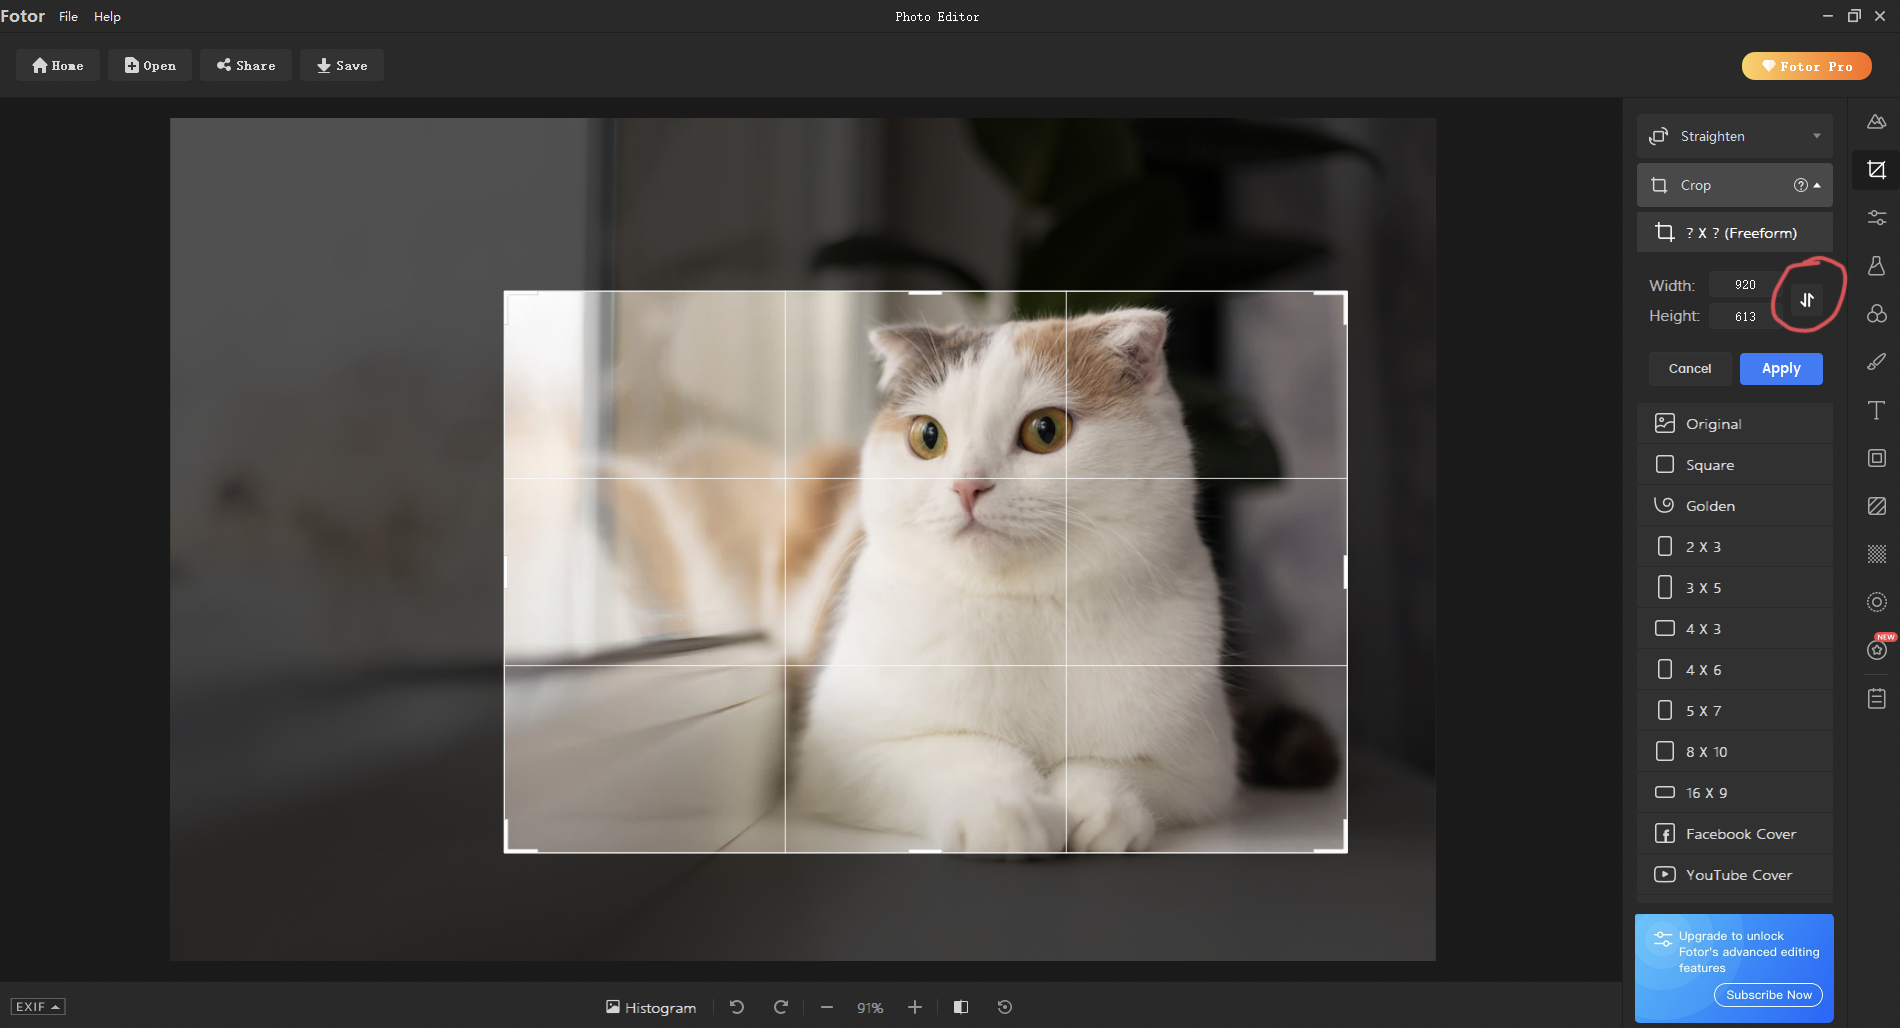
4. Click the button “Apply” when you get the desired size of your images.
5. Click the “Save” option at the top right corner to save your new image as a high-quality JPG or PNG, BMP, TIFF format.
Here comes the question, how to resize photo without losing quality? Here you can use Fotor’s AI Enlarger. Let’s see how to do it.
1. Open Fotor and click the“Image Enlarger” option on the top navigation bar. Click the button “enlarge image now”, and upload the images you want to enlarge.
2. Select the “AI Enlarger” tool in the “Adjust” menu on the left side, and Fotor will automatically make the image bigger immediately while keeping its high resolution.
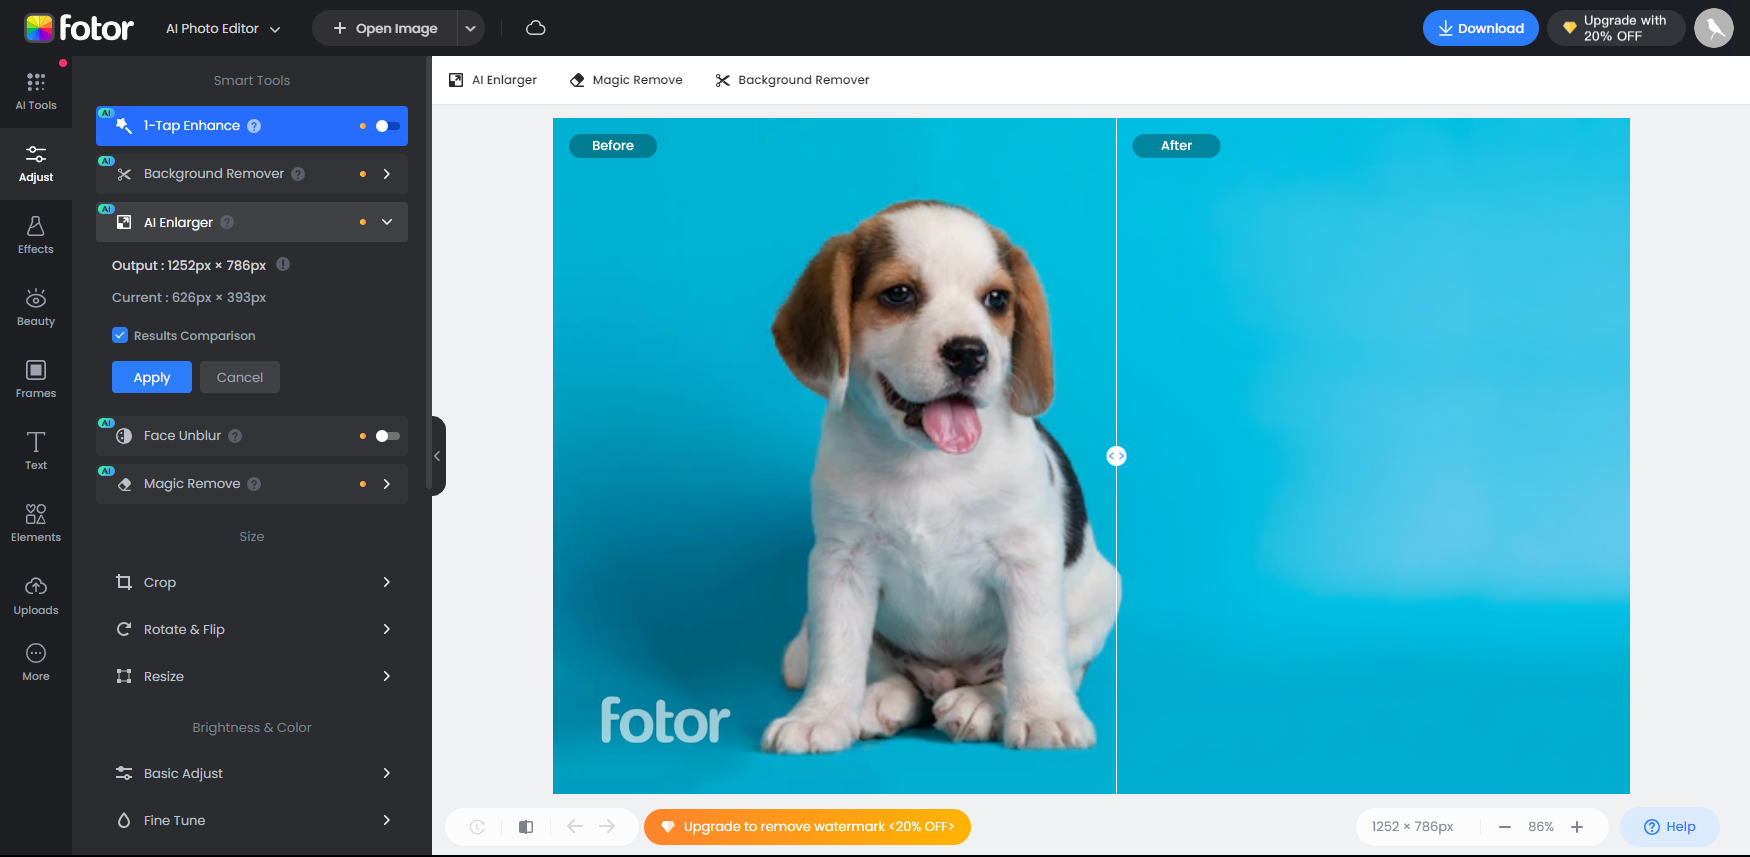
3. Once the operation is ended, click “Apply” and download the images, here you can choose to save as high-quality JPG or PNG file format.
How to Change the Size of Your Images for Social Media Use with Fotor Photo Editor?
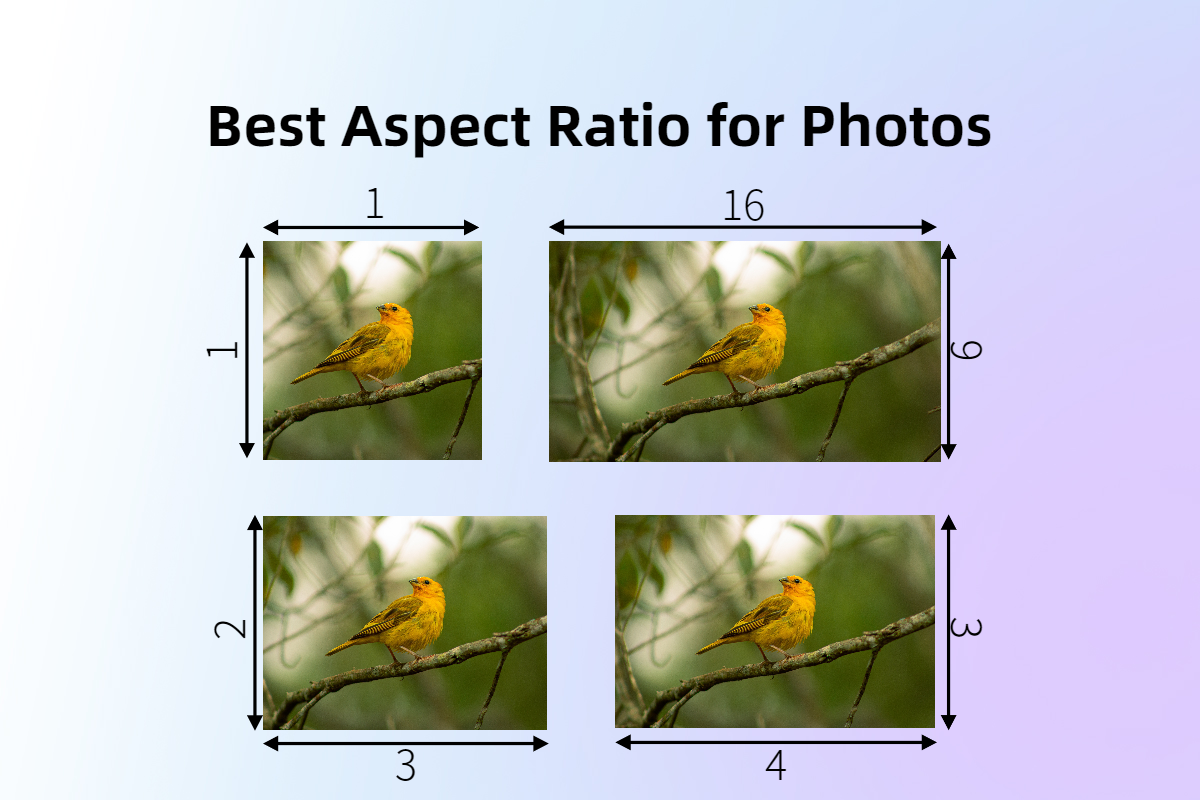
Different social media platforms, such as Instagram, Facebook, and Youtube, have their demands for the size of pictures. And here, you can choose the present sizes for these social media platforms to help you resize the photos easily and instantly.
Let’s learn how to resize your images for social media use with Fotor’s Mac Photo Editor:
1. Open Fotor and click the “design” button on the top menu. Choose a template you want. And here we take Facebook Post as an example.
2. Click the “Resize” option on the top menu and here you can see lots of present sizes for social media use, like Instagram Post, Youtube Thumbnail, Facebook Post, and so on.
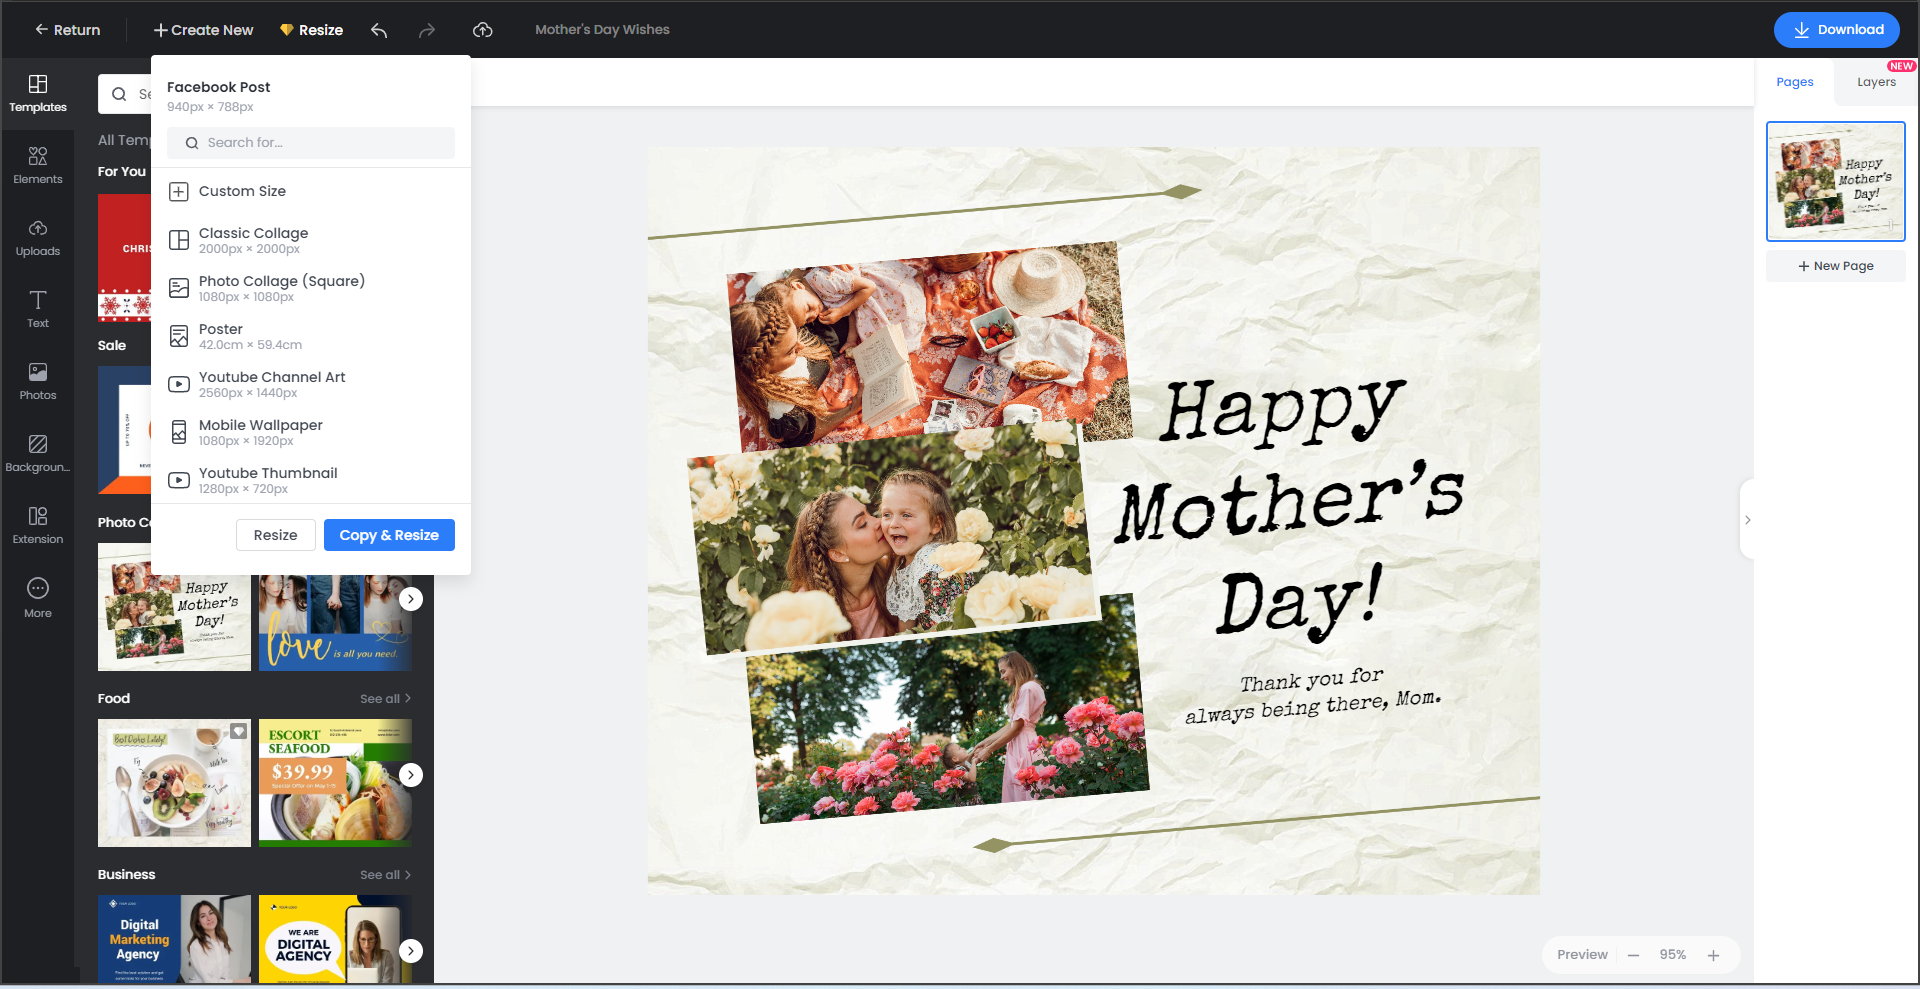
3. Slide down and choose your target forms.
4. Click “copy & resize” when you get the size you want.
5. Click the button “Download” in the upper right corner to save your new image as a high-quality JPG or PNG format.
How to Resize Multiple Photos on Mac at Once Using Fotor?
Sometimes, the pictures need to be resized may be in bulk. Uploading and resizing them one by one may spare a lot of time. But luckily, here you can use Fotor’s Batch Photo Editor for Mac to resize a group of pictures at once.
Here are the steps:
1. Open Fotor, choose the “batch” option on the top menu, open one image and add the rest images one by one.
2. Click “Batch Resize” on the left side. Choose “Resize” and enter your target width and height by percentages.
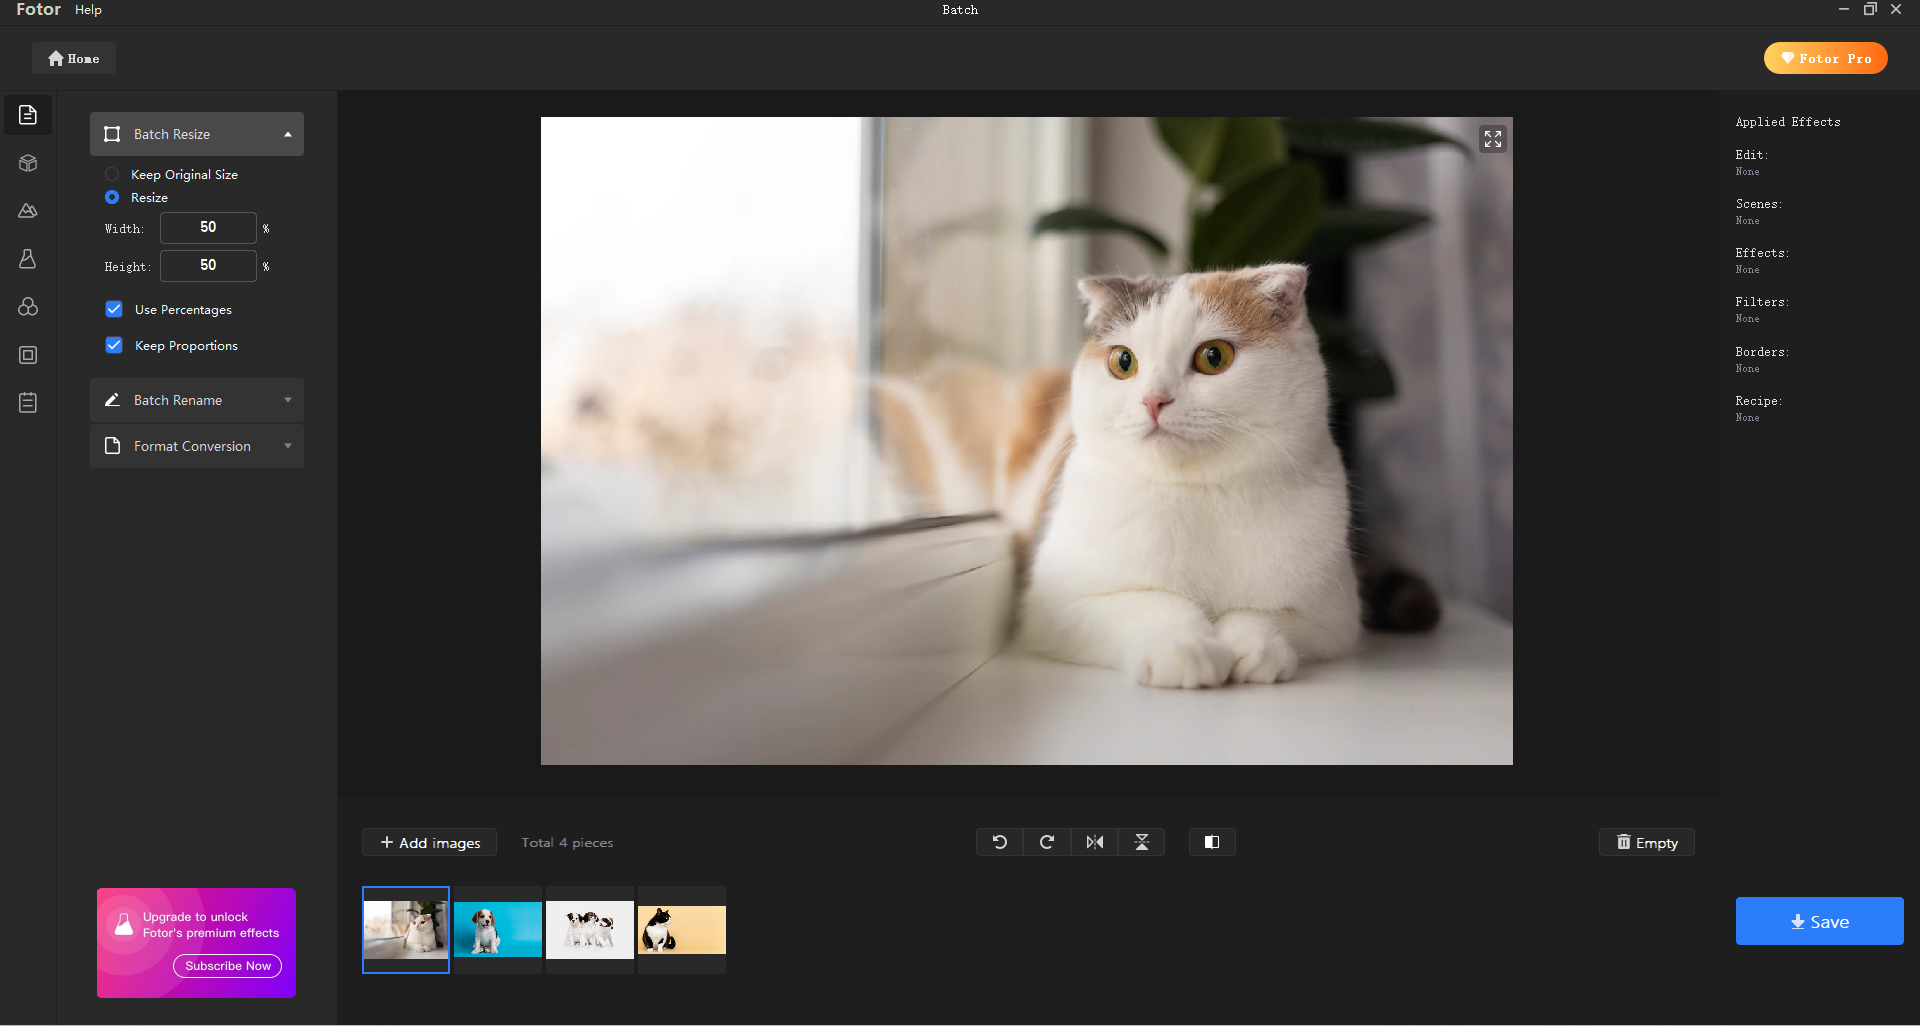
3. Click “save” at the bottom right corner and save all of your images.
Conclusion
Resizing a photo on Mac is a useful way to help you share your pictures with others and reduce the burden of your computer’s storage. The above is the contents on how to change the size of your pictures on Mac with its built-in apps: Preview and Photos. Besides, Fotor’s Photo Editor for Mac is recommended to you, you can choose a way you like best and reduce or enlarge the image size easily and fastly.