How to Restore Old Photos in Photoshop: Step-by-step Tutorial
Summary: This post mainly talks about steps on photo restoration with Photoshop and an online old photo restoring tool. Besides, there are tips on how to protect old images from being damaged.
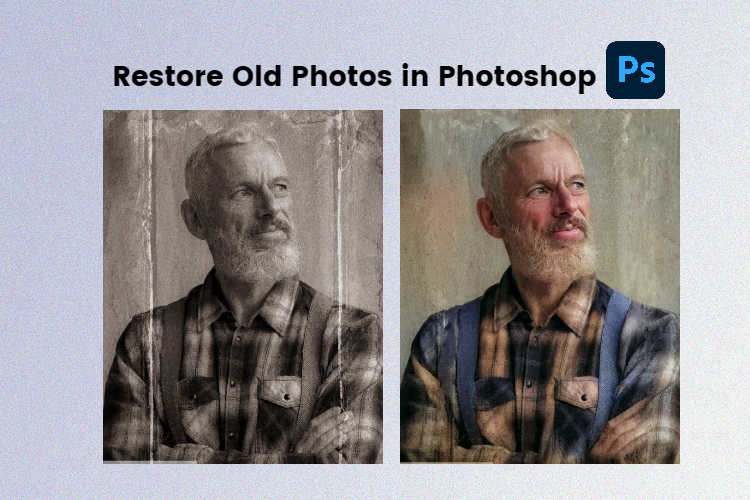
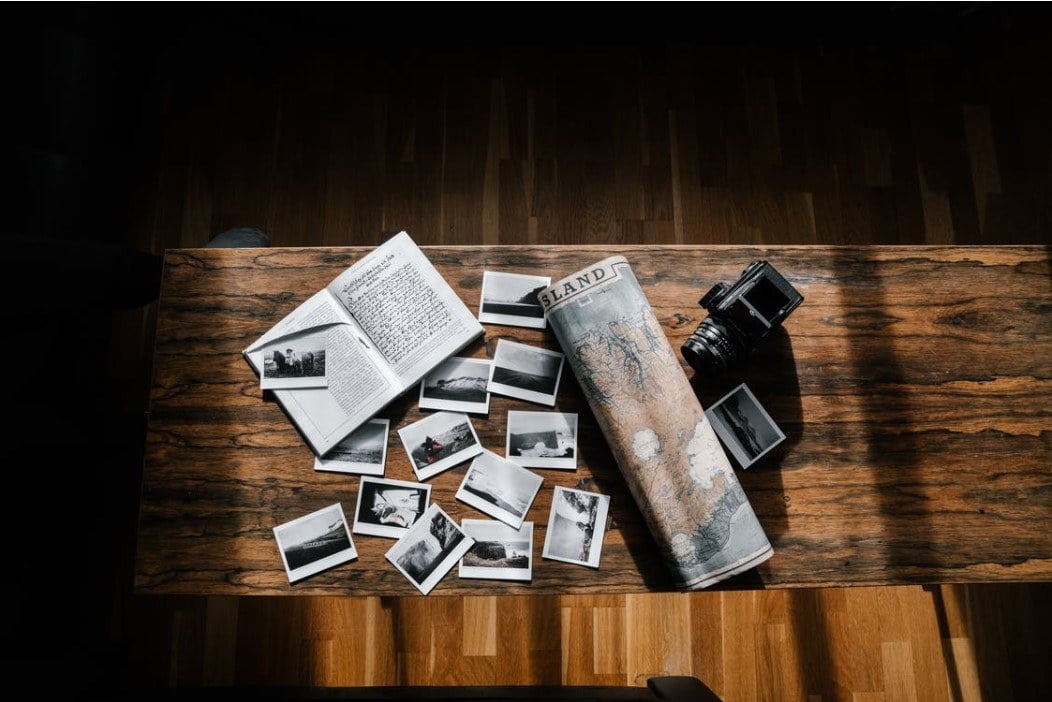
Some old photos may be ruined due to water damage, sunlight exposure, inappropriate storage, or other reasons. To recall our past beautiful memories, it’s important to learn how to make these old photos look new.
Luckily, Adobe Photoshop provides you with photo restoration services. You can enhance, repair, and colorize the old damaged images to restore their original looks in Photoshop.
Now Let’s see how to restore old pictures in Photoshop.
How to Repair Old Pictures with Photoshop?
Photoshop is an extremely powerful application that's used by many professional photographers and designers. It provides a lot of photo editing tools, and old photo restoration is included. Here is a step-by-step tutorial on how to use Photoshop to restore old photos.
1. Import Your Old Images into Photoshop
The old images can be family photos that have tears, scratches, or faded colors. You can even choose to colorize black and white images. Scan your old images, digitize them and save them in your computer. Open Photoshop, drag or open the images you want to restore in Photoshop.
Once you import the old image into Photoshop, this will be your background layer. Lock it and do not make adjustments to this image.
2. Do Minor Edits
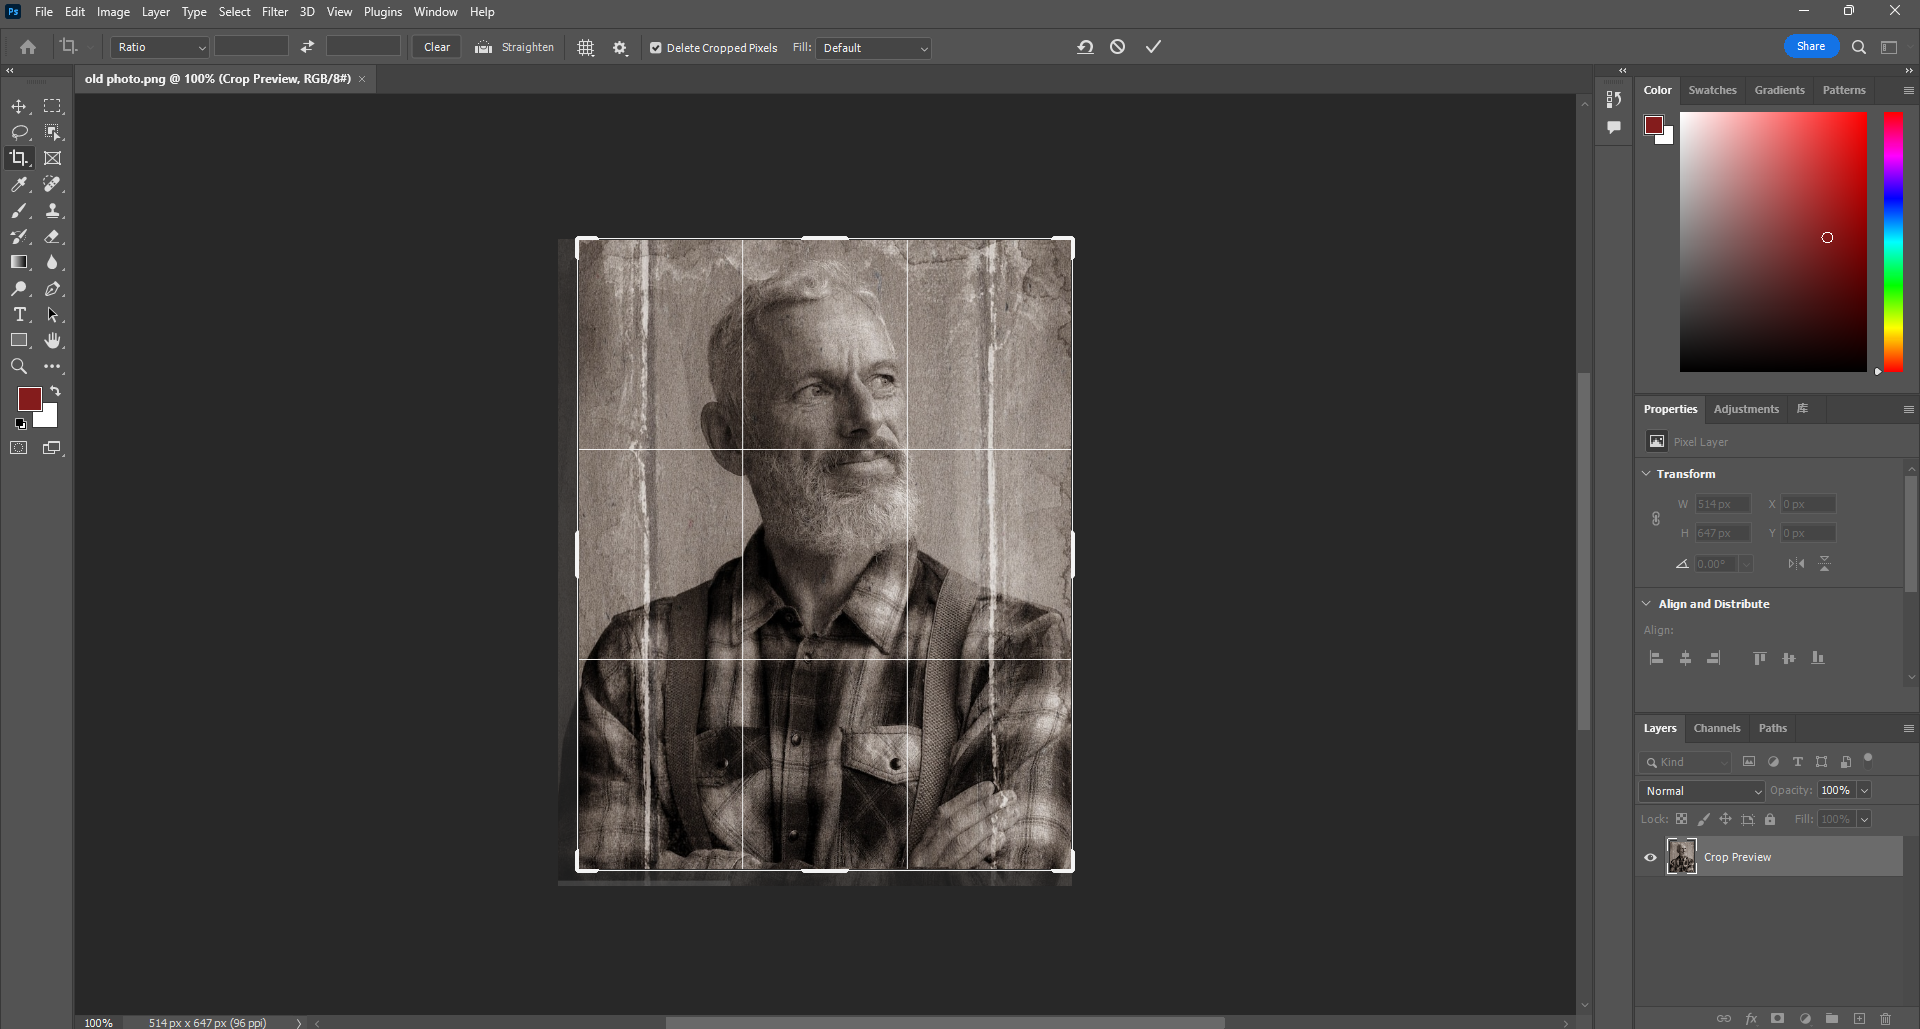
Once your image is imported, you can start the restoration work. But before that, you can do some minor edits to your pictures first, like cropping. That is, cutting off the extra parts around the corner of your pictures.
Click on the “Crop” icon on the sidebar, and you can enter your target width and height on the right side, or simply, just manually pull the border of your pictures to adjust its size.
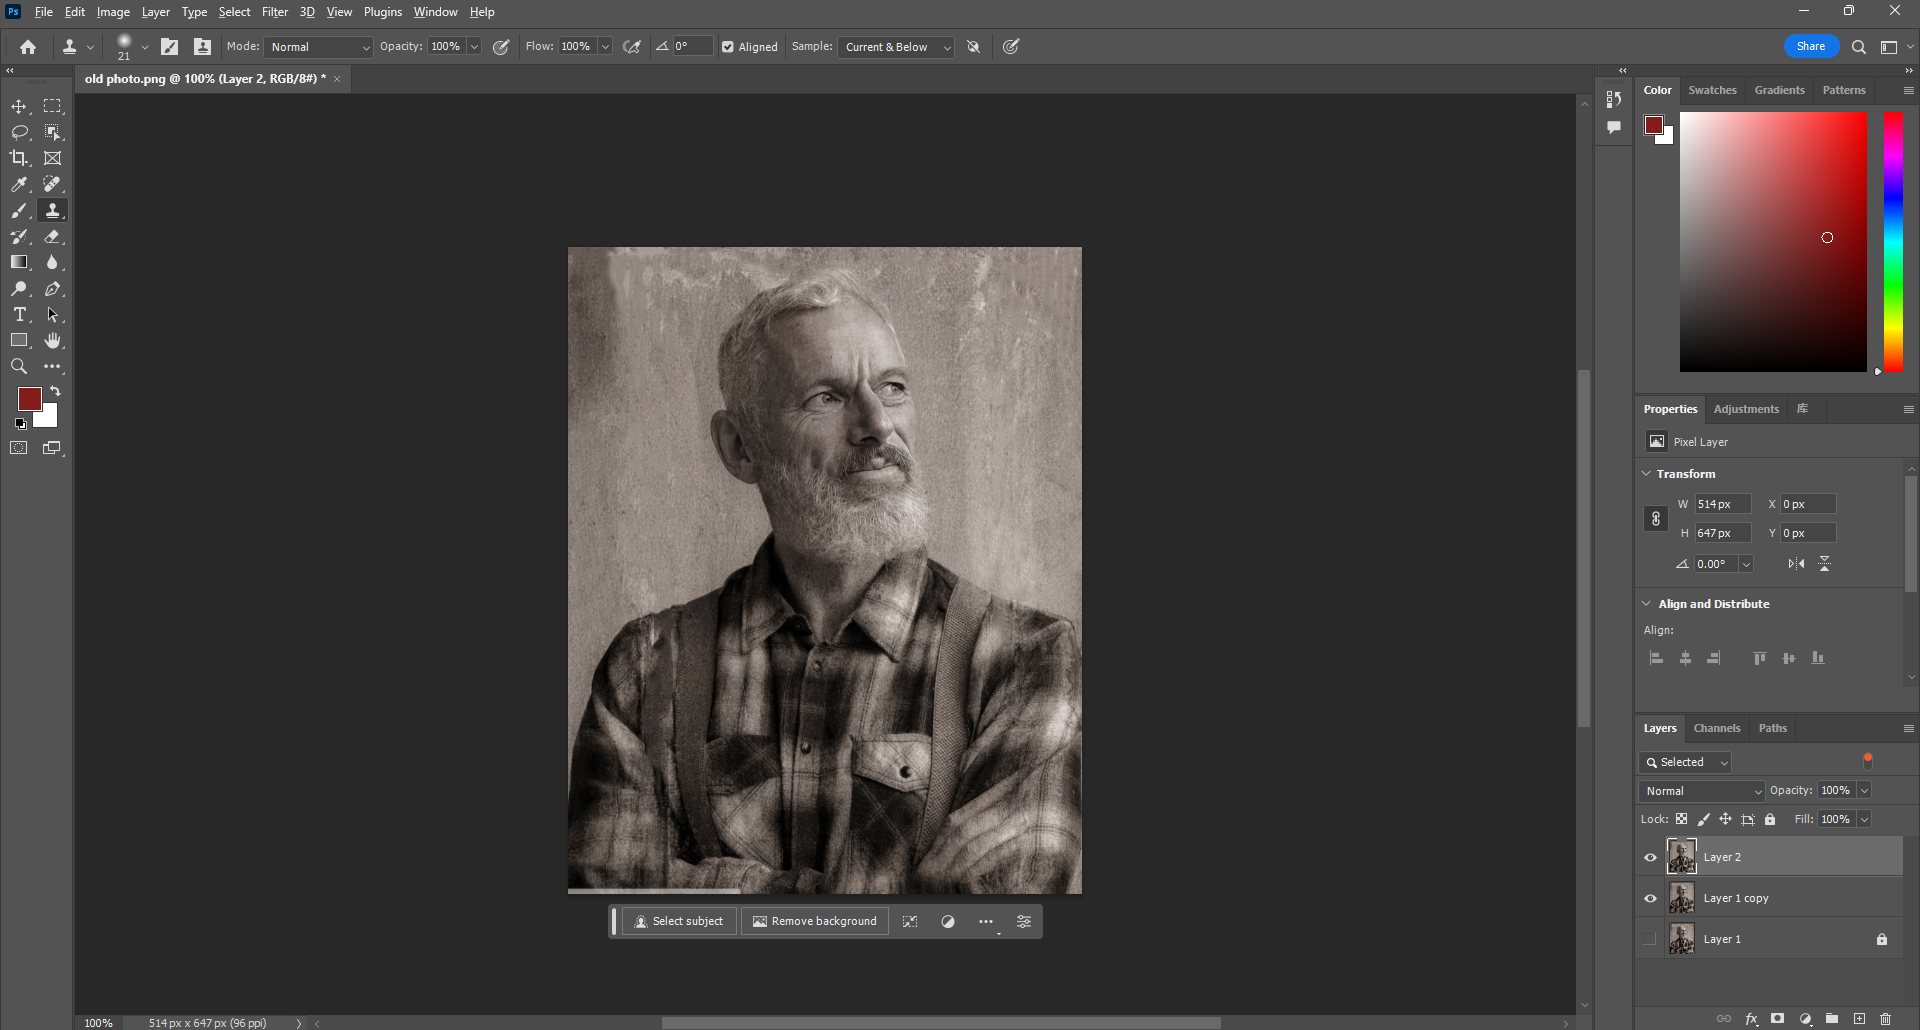
3. Duplicate A Layer
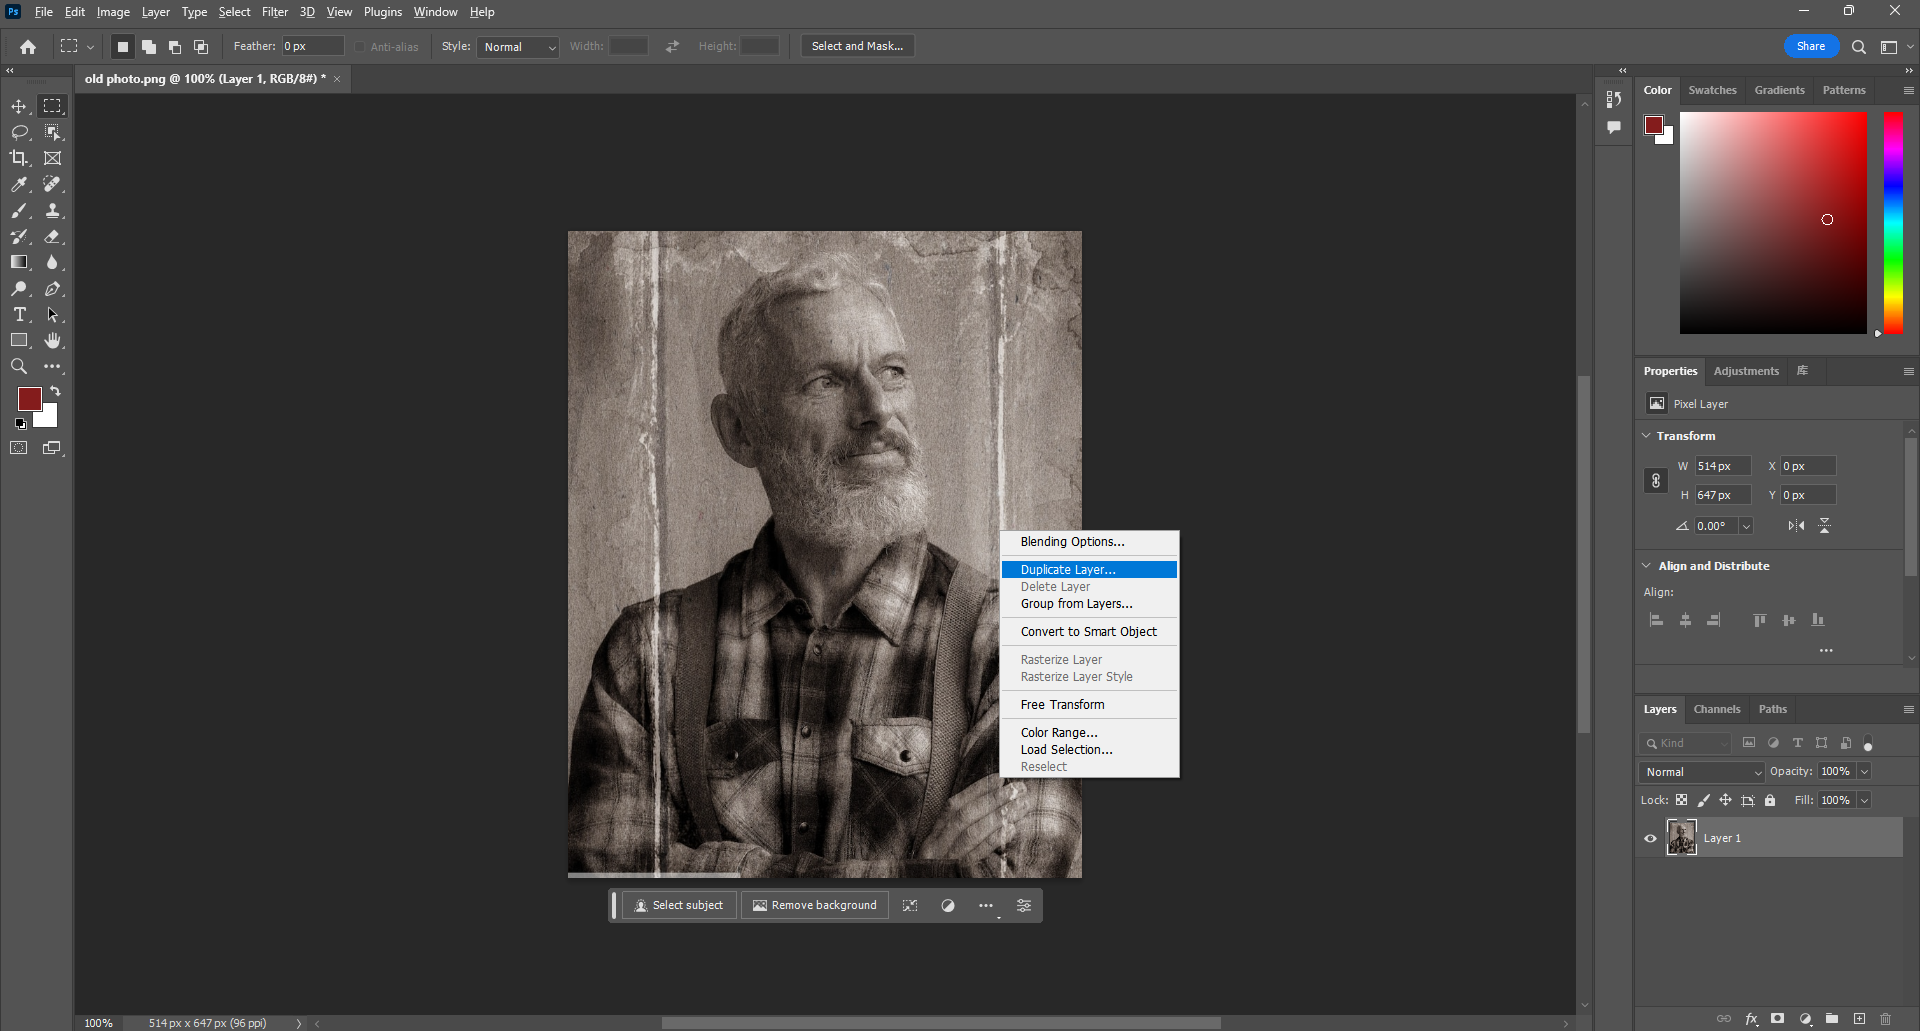
Select the picture, right-click the mouse, and choose “Duplicate Layer”. You can make adjustments on this new layer without worrying that the original pictures will be modified. This will not influence the original image, just do what you want on the duplicated layer.
4. Fix Tears, If Desired
To restore old photos in photoshop, you should begin with fixing the major issues. For example, if there are any traces of human tearing in your photo, then you can use the lasso tool on the left side. You can select any part of the image that you want to duplicate by using it.
Then , you can use the clone stamp tool to copy the area and manually adjust it anywhere else to fix the tear. But this step is not applicable for every user, just take this step according to your needs and the degree of damage in your photos.
5. Apply Filter: Photo Restoration
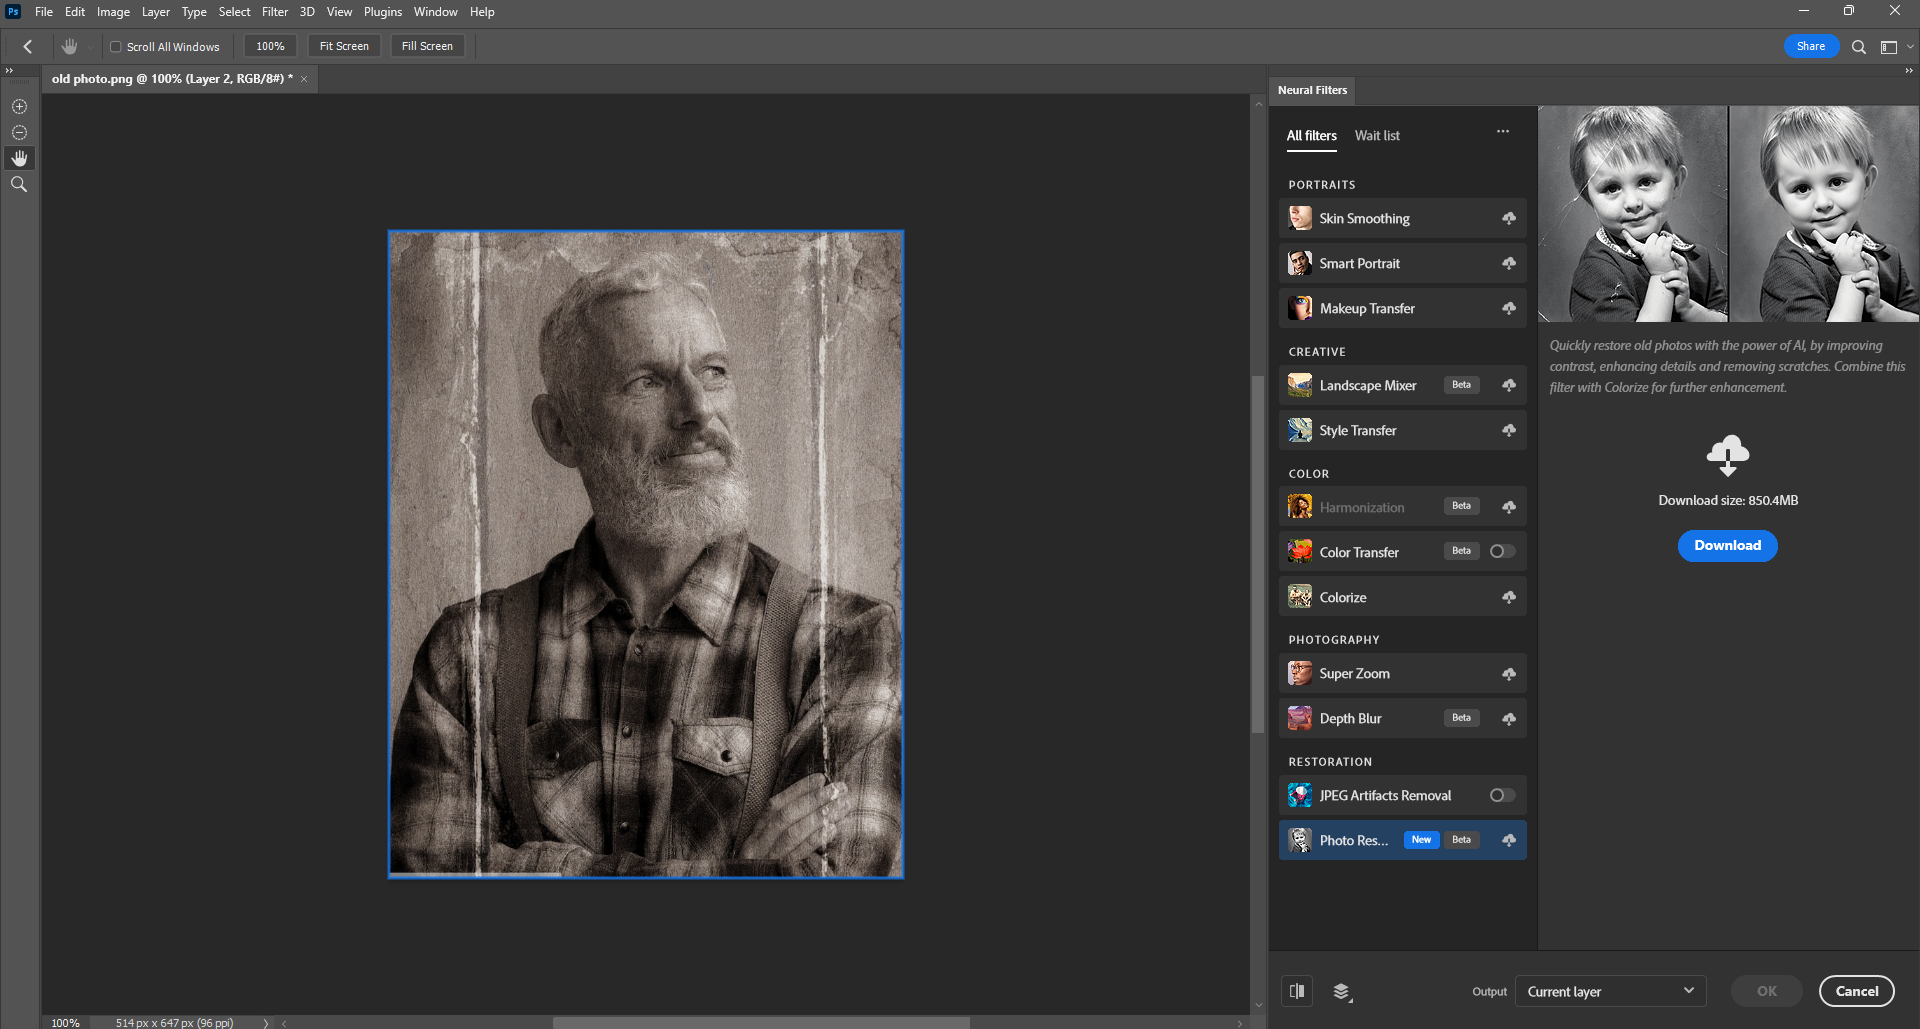
After the obvious damage has been repaired, Let’s do some details optimization. You can further restore your old images in Photoshop with its present filter: photo restoration.
Click the seventh option “Filter” on the top menu bar, and choose “Neural Filters”. Once go to the filters page, slide down, and choose the last filter “Photo Restoration”.
Download the filter and apply it. Then you can see your old pictures immediately become clearer. Optionally, you can adjust the values of “Photo Enhancement”, “Enhance Face”, and “Scratch Reduction” on the right side.
6. Reduce the Noise of Your Photos
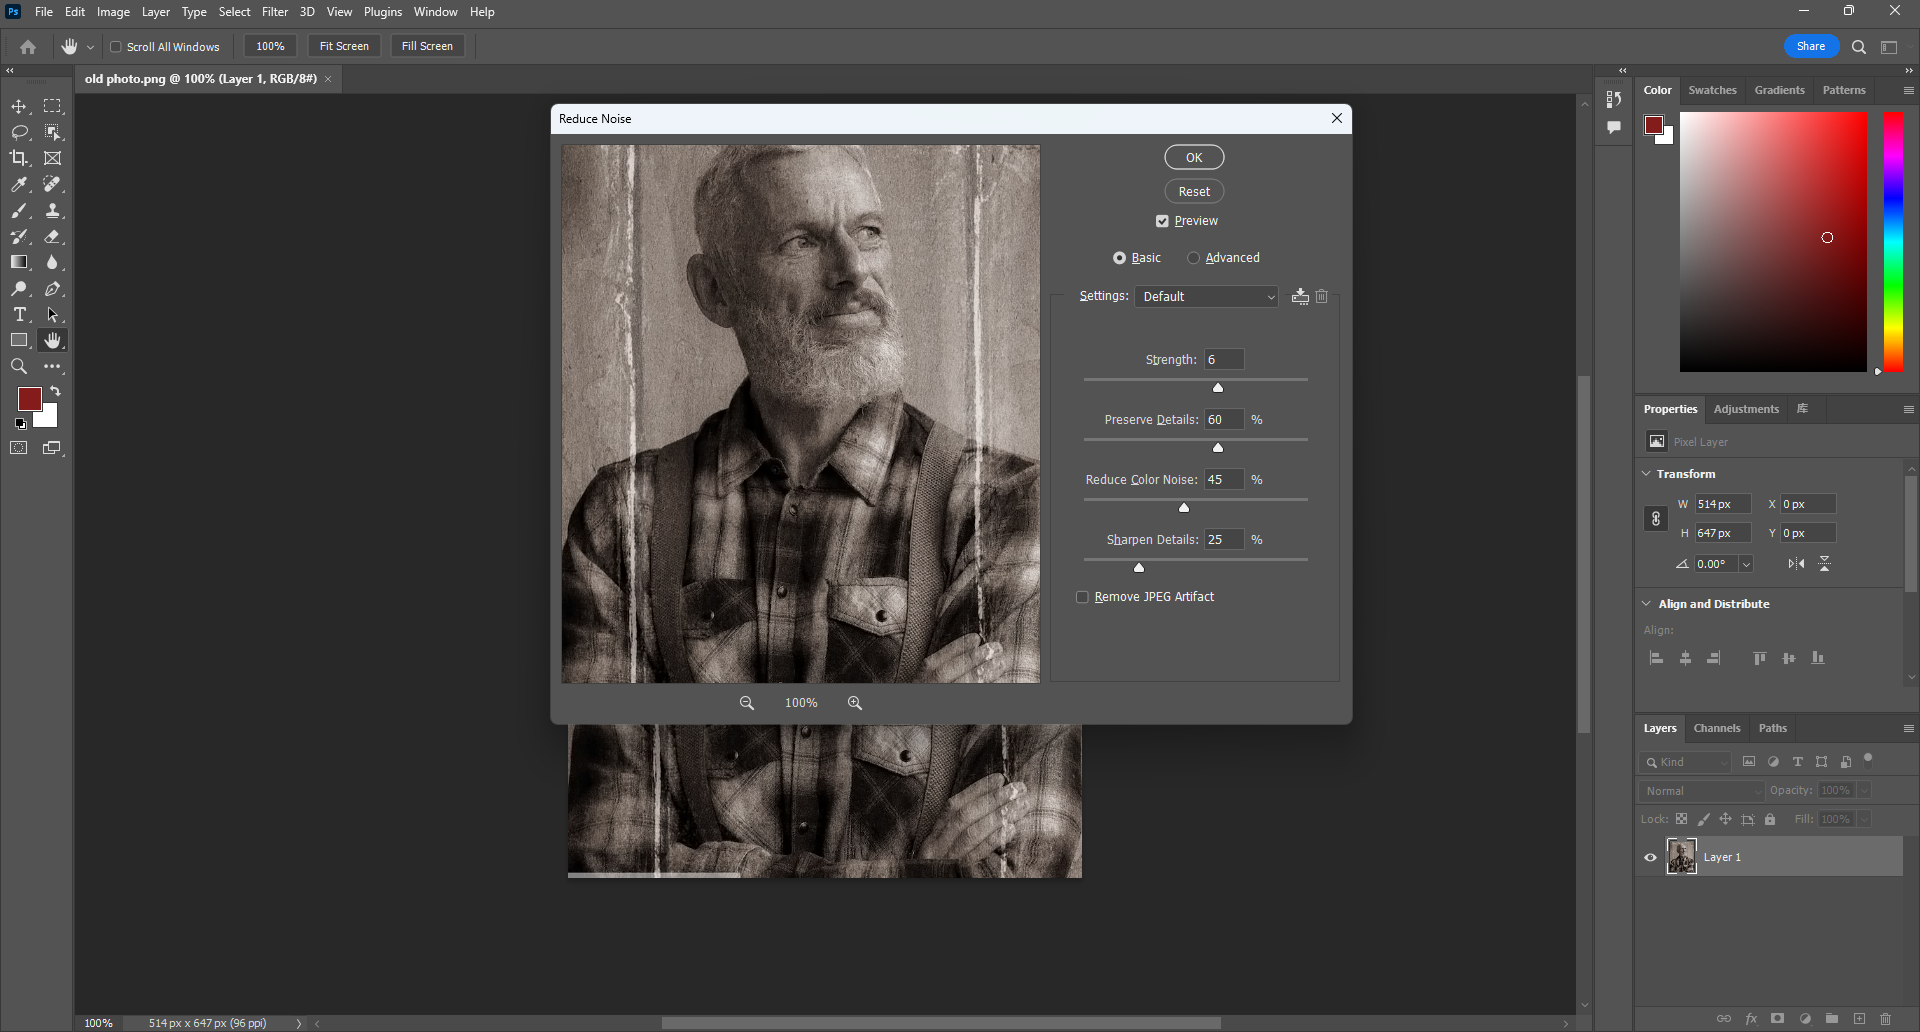
Old photos may have a lot of noise even though they have been scanned as digital copies. The key to noise reduction technology is to minimize the damage to photo details and image quality.
And here you can use the built-in filter of Photoshop: Noise Reduction to denoise your old photos.
Just go its menu bar, click “Filter”, “Noise” and then “Reduce Noise”. On the pop-up window, you can manually adjust the value of “reduce color noise” by percentage. Or do some other adjustments.
7. Repair the Scratches
As passages of time, there may be a lot of spots and scratches on your photos. You can use Photoshop photo editing tools to solve this problem easily.
Choose “Spot Healing Brush Tool” and then click “Sample All Layers” on the top menu bar, choose the type “Content-Aware”. Then use “Spot Healing Brush” to erase the scratches, repair tears and remove defects due to water damage on your pictures.
If unwanted scratches still remain, use the “Clone Stamp Tool” to cover them to optimize details, Press “Alt” on Windows (or “option” on Mac) and click the area you want to sample. Pay attention to selecting the sample type “Current&Below” on the top menu bar to work without damage.
8. Colorize Your Photos, If Necessary
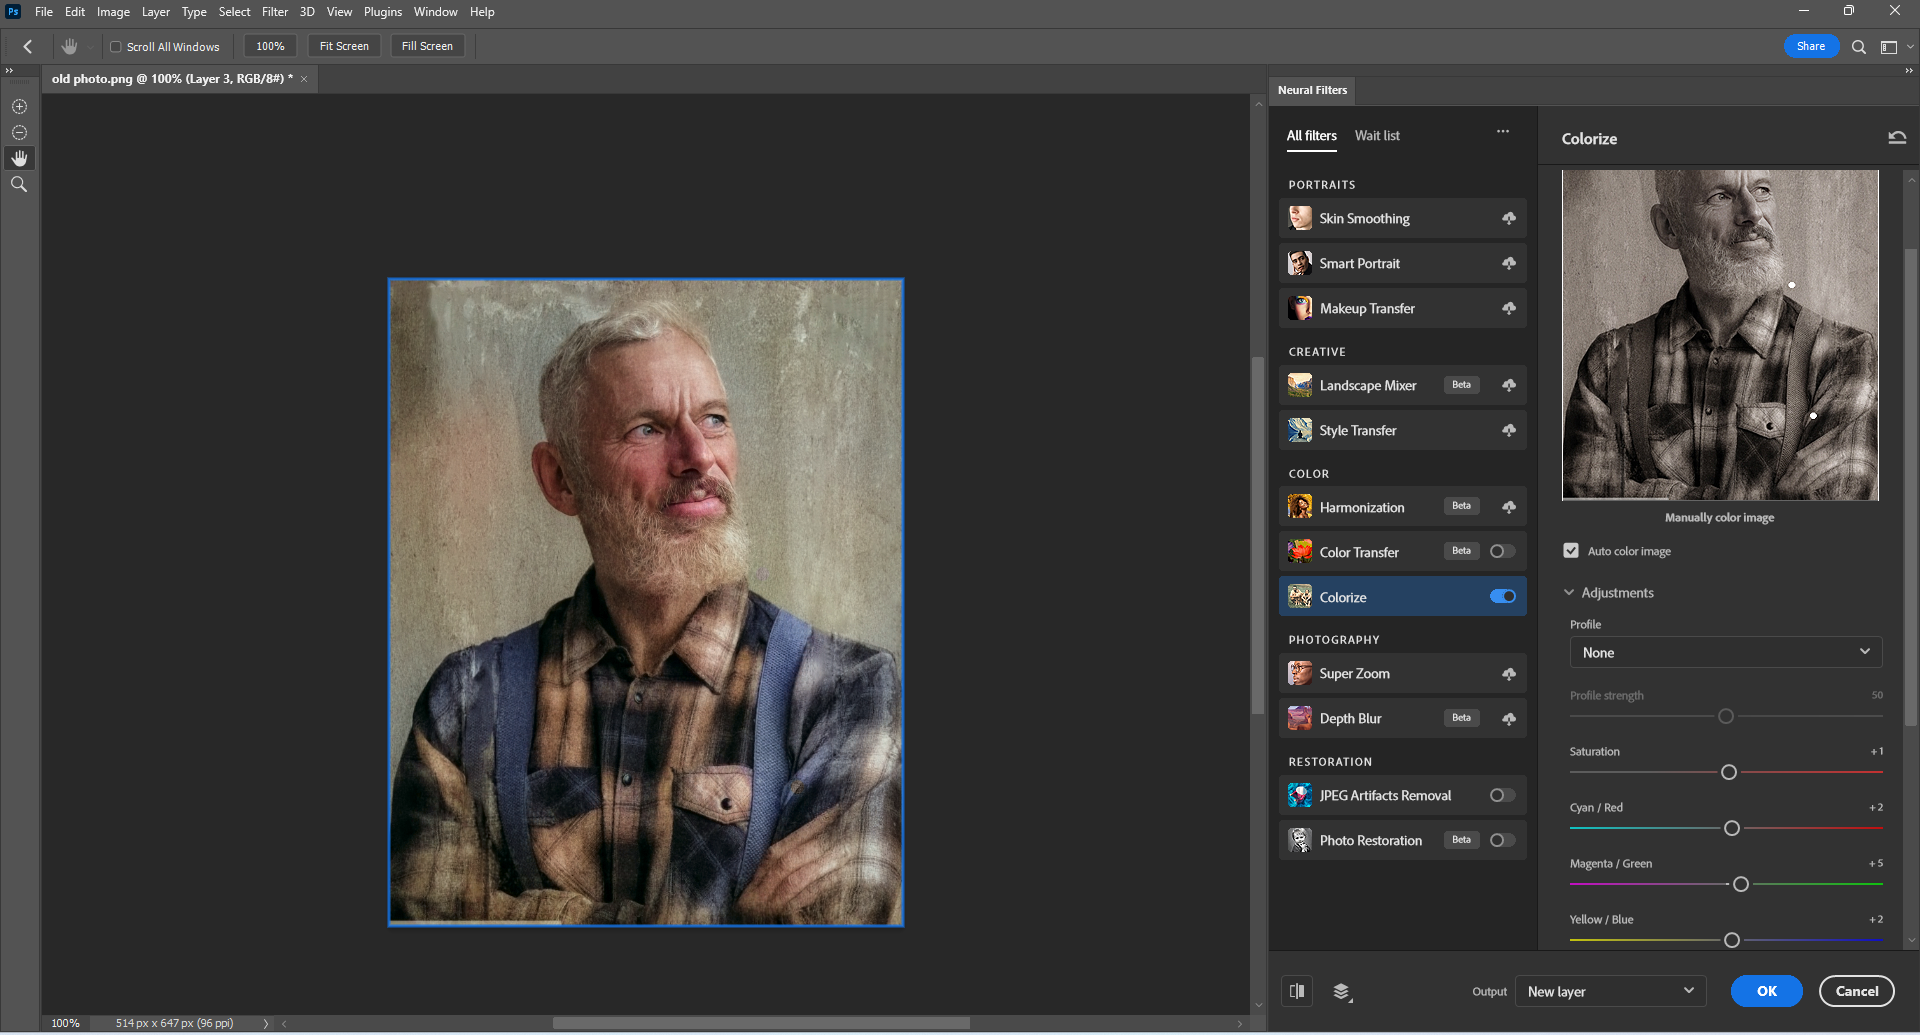
If your old pictures are black and white, or sepia-toned. You can quickly colorize your pictures in Photoshop.
Create a new layer that includes all your previous layers by clicking “Ctrl+Alt+Shift+E” on Windows, or “Command+Option+Shift+E” on Mac. Choose the “Filter” option on the top menu bar. And then choose “Colorize”. Download and apply it. Do some adjustments according to your preference.
9. Export the Restored Photo
Click “File” on the top menu and choose “Export”- “Export to files”. You can save your image as a JPG, TIFF, PNG, or other image file format.
An Online Old Photo Restoration Tool: Fotor’s Old Photo Restorer

Fotor's AI-powerd old photo restorer allows you to quickly and easily restore old photos.
Only one tap to make your old photos look new!
The above is a step-by-step tutorial on how to retouch old photos with Photoshop. But actually, since Photoshop is a photo editing software for professional photographers and designers, its operation may be difficult and complicated for most beginners.
Luickly, there are many simple tools for old photo restoration. Here I’d like to recommend you Fotor’s Old Photo Restorer, to help you easily and quickly touch up your old photos.
With Fotor’s powerful AI old photo restoration tool, you can effortlessly fix your old damaged, faded, or scratched images in just seconds.
How to do it?
- First, click on the “Restore Photo Now” button, and upload the image needs to be repaired.
- Second, click the “Photo Restorer” button on the left side to start the photo restoration process. If necessary, you can also click the “Photo Colorizer” button to make your pictures colorful.
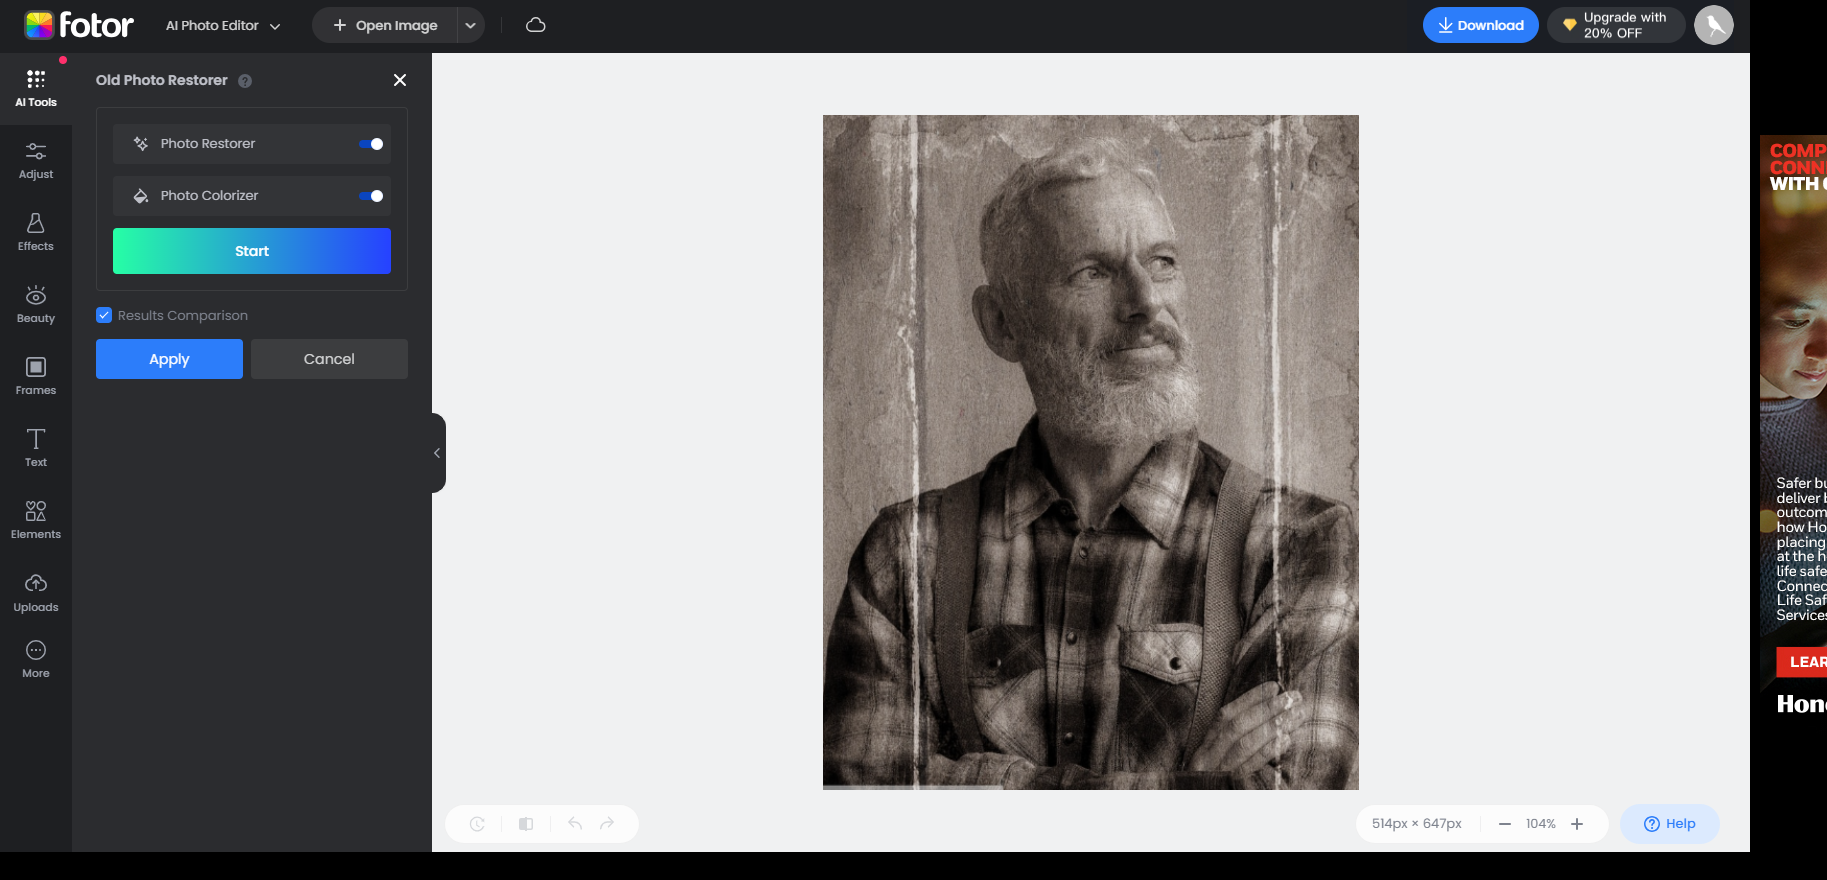
- Third, click “start” to wait for the outcome. Fotor will automatically restore and colorize your old pictures through intelligent AI analysis of the lighting, color and the damaged, scratched parts of your pictures.
- last, if you are satisfied with the final picture, click “Apply”. Download it and save the picture as high-quality JPG or PNG format.
Tips on how to protect your photos from being damaged
Although it’s easy to recover your old damaged pictures. Learning how to protect your photos from being damaged is also necessary. Here are some tips.
- Add an extra protection layer to prevent your pictures from being auto-degraded.
- Purchase photo frames that can block UV rays, protecting your pictures from being exposed to the sunlight.
- Scan your photos to make a second copy or simply digitize them to keep them saved safely on your computer or phone.
- Store your photos in a dark and dry environment, since they can't be damaged by moisture or dirt.
- Keep your photos in a photo album, which can protect them from being damaged due to outer factors.
Conclusion:
Restoring old photos in Photoshop is an advanced way to help you recall your past cherished memories. The above is a step-by-step tutorial for restoring old photos with Photoshop and Fotor’s old photo restorer. Finally, some tips are here for you to protect your photos from being damaged. Hope you can find these contents helpful.